Tools in Action: Designing, Reflecting, Learning
- Christine Lin
- Aug 12, 2025
- 3 min read

What Are “Tools in Action”?
“Tools in Action” is a semester-long teaching practice that Professor Maaike used in her Design Process for Learning Experience course taught in Spring 2025. This teaching strategy encouraged students to explore and adopt tools that best suited the unique needs of their project. The focus wasn’t just on learning how to use the tools, but also on reflecting on why we chose them and how they supported our overall design process.

Figure 1
Screenshot of the “Tools in Action – Individual Project” assignment page from NYU’s Designing for Learning Experiences course, accessed via Brightspace LMS.
Choosing the Right Tools for Each Project
While working on team projects, we were encouraged to avoid using the same tools as our teammates to increase exposure to a wider variety of tools. For instance, for our project aimed at boosting the sense of direction among our target audience, my teammate chose Boodlebox to create AI clients, and I chose Articulate 360 to design an online learning module for our APP, including 7 modules:
Module 1: Navigation Fundamentals
Module 2: Map Reading
Module 3: Landmarks
Module 4: Route Planning
Module 5: Orientation Techniques
Module 6: Cognitive Mapping
Module 7: Route Adjustments

Figure 2
Screenshot of the “NavMaster” course landing page, showcasing the interactive start screen and overview section for novice navigation learners.
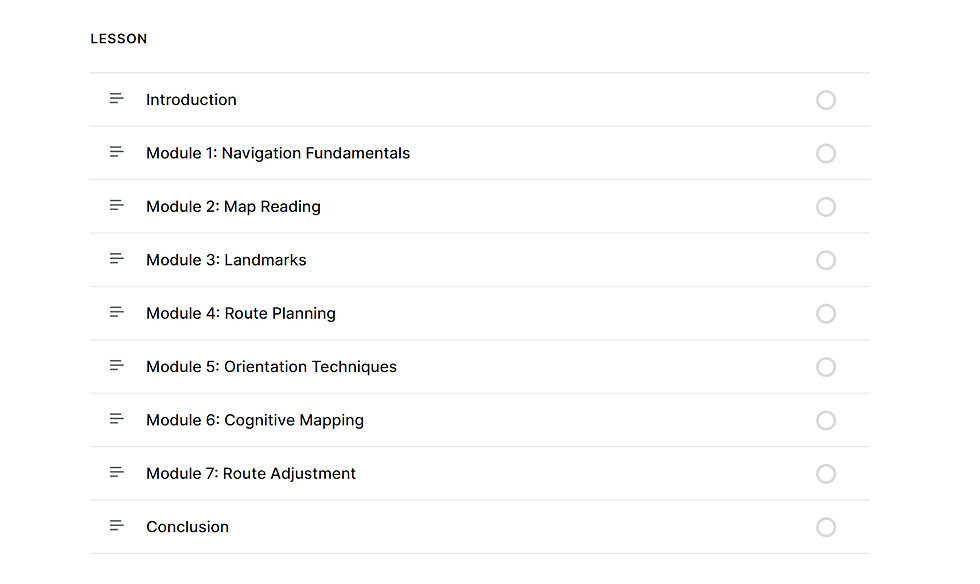
Figure 3
Screenshot of the “NavMaster” course landing page, showcasing 8 modules included in the course.
Deepening Tool Understanding Through Practice
What made “Tools in Action” different from a typical tools workshop was that it wasn’t a one-off. We didn’t just try a tool and move on. We kept using it, iterating with it, and sharing what we learned over the course of the semester. As our projects evolved, our understanding of the tools grew as well. It was a hands-on, real-time way to build both technical and reflective skills.
Peer Reviews: Learning from Each Other’s Tools
Another key element was the peer review process. We regularly reviewed how each of us used the different tools. This gave us ideas we hadn’t considered before, such as new workflows, hidden features, or even entirely new platforms. It was like a mini showcase each time, and a great way to stay curious.

Figure 4
Screenshot of the Peer Review interface for “Tools in Action Part 2,” showing the assignment submission and feedback system used in the NYU Designing for Learning Experiences course via Brightspace.
Pros & Cons of the “Tools in Action” Approach
Overall, I found “Tools in Action” to be a fun and effective way to build tool fluency. One of its greatest strengths was the freedom it gave us to explore and reflect, rather than being told exactly what tools to use. That said, the experience could sometimes feel a bit scattered—especially when it took time to find the “right” tool for a specific need.
For example, in my project focused on enhancing users’ sense of direction, I needed to carefully compare several tools to determine which one best suited the instructional component, such as Articulate 360, Adobe Captivate, Pear Deck, and others. I eventually chose Articulate 360 because it is easy to use and aligned with instructional goals. The comparison process also pushed me to think more critically about tool selection, and that mindset will stay with me far beyond this course.


Comments